
 Sankalp
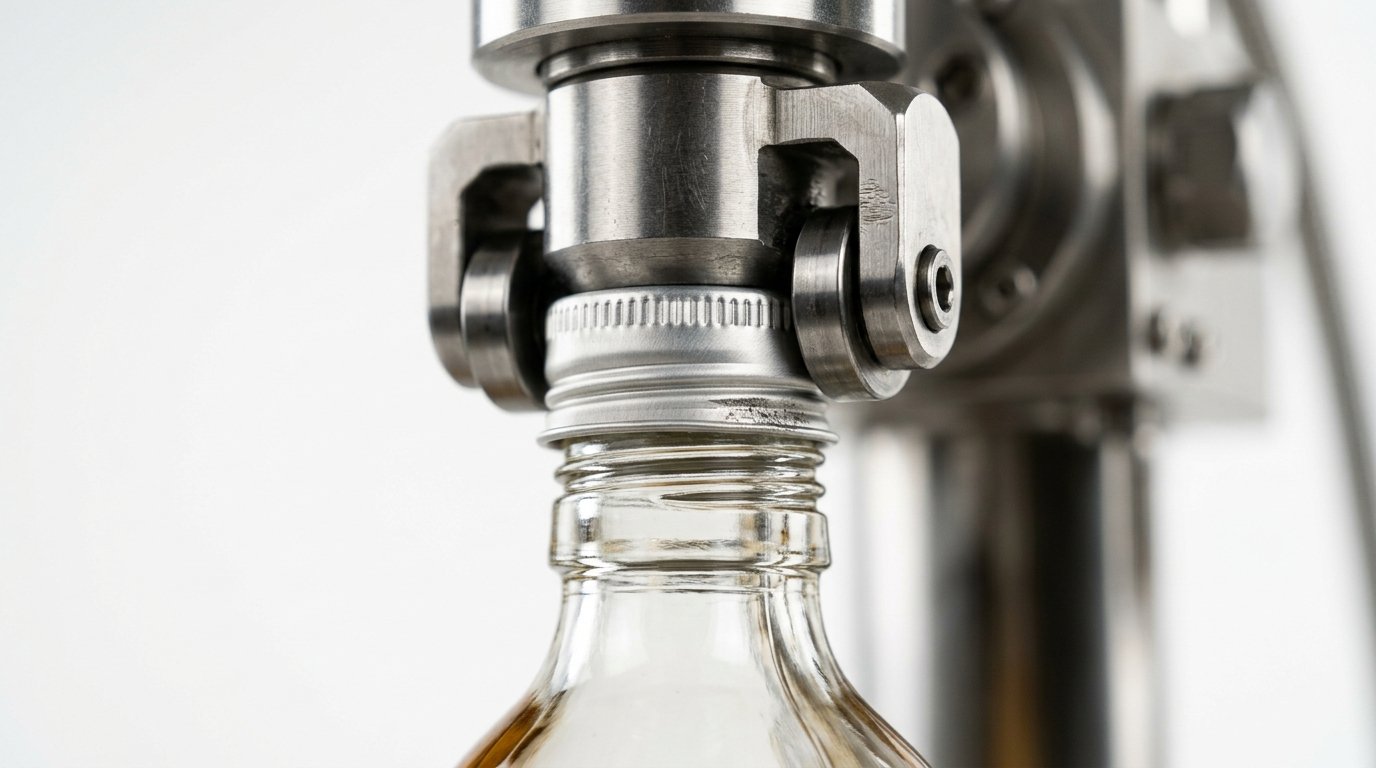
The ROPP capping process runs in five mechanical steps: the machine picks and places a plain aluminium shell on the bottle, a top-load pressure block presses the liner down to form the seal, thread rollers form the thread against the bottle finish, skirt rollers form the pilfer band, then the head releases. The thread is created during capping, not before.
If you want the concept rather than the mechanics, read what is ROPP capping first. This page is the physical step-by-step of what happens inside the head. For the machine that performs it, see the complete ROPP capping machine guide, and for how the same cycle plays out on different machine classes, semi-automatic vs automatic cappers.
Step 1: Cap pick and placement
A plain 28/15 mm aluminium shell is fed from a sorter or chute and placed squarely on the bottle mouth. At this point the cap has no thread. It is a smooth cylinder with a liner inside. Correct, centred placement matters here: a cap that lands cocked or off-centre will be formed crooked, because every later step works from where the cap sits now. R Vision ships both the Aqua Cap and Bev Cap as true, round 28/15 mm shells so they seat cleanly in the sorter and on the finish.
Step 2: Top-load pressure seals the liner
The pressure block (thrust block) drops onto the flat top of the cap and pushes down with a set force. This compresses the liner inside the cap against the rim of the bottle finish. This is the moment the seal is made. The thread has not been formed yet; the container is already sealed by liner compression alone.
Liner choice governs how well this step performs. The Aqua Cap uses a TPE liner suited to hot, cold, and carbonated fills, and the Bev Cap uses a PVC-free TPE liner. To understand the sealing surface, see what is a cap liner and bottle cap liner materials.
Step 3: Thread rollers form the thread
While top-load is held, the thread rollers swing in against the spinning cap skirt and press the soft aluminium into the bottle’s thread profile. The aluminium takes the exact shape of the glass or PET thread beneath it. This is where “roll-on” comes from: the thread is rolled on, not moulded in advance. Roller pressure and roller height set thread quality here.
Step 4: Skirt rollers form the pilfer band
Lower down, the skirt or pilfer rollers curl the bottom edge of the shell under the bottle’s locking ring. This forms the tamper-evident band. On the Aqua Cap this is a three-part break-system tamper ring that separates cleanly on first opening. On the Bev Cap the pilfer-proof ring stays attached to the bottle after opening, so the closure is resealable. See three-part tamper break system and resealable tamper-evident caps for the closure detail.
Step 5: Release
Top-load lifts, the rollers retract, and the finished bottle exits the head. The cap now has a formed thread, a compressed liner seal, and a locked pilfer band, all created in that single head cycle.
What each step forms
| Step | Machine element | What it produces |
|---|---|---|
| 1 Placement | Sorter / chute | Cap seated square on finish |
| 2 Top-load | Pressure block | Liner seal (the actual seal) |
| 3 Thread | Thread rollers | Formed thread on the neck |
| 4 Pilfer | Skirt rollers | Tamper-evident band |
| 5 Release | Head lift | Finished, sealed bottle |
What a good seal looks like
A correctly capped bottle shows a few clear signs:
- The cap sits straight, with no tilt against the bottle shoulder.
- The thread impression is even all the way round, with no flattened or skipped sections.
- The pilfer band is fully formed under the locking ring and does not spin freely.
- The bottle holds pressure and does not weep at the finish, which matters most for carbonated Bev Cap fills.
- Removal torque feels firm but not stripped.
If any of these fail, the cause is usually top-load, roller pressure, centring, or an out-of-spec shell. The common capping defects guide maps each symptom to its cause and fix. R Vision closures are rated to 8 bar, so when the process is set correctly the seal holds under carbonation; see what is 8 bar pressure rating.
Frequently asked questions
At which step is the bottle actually sealed?
At step two, the top-load stage. The pressure block compresses the liner against the bottle rim before any thread exists, so the seal is made by liner compression. The thread and pilfer band are formed afterward to hold and secure the cap.
Does the cap have threads before capping?
No. A ROPP shell arrives as a plain aluminium cylinder with a liner inside. The thread is formed on the line during step three, when the thread rollers press the aluminium into the bottle’s own thread profile.
How is the tamper band created?
Skirt rollers curl the bottom edge of the aluminium shell under the bottle’s locking ring during step four. On R Vision’s Aqua Cap this becomes a three-part break ring, and on the Bev Cap it becomes a ring that stays attached after opening.
Why does placement matter so much?
Every forming step works from where the cap first sits. If the shell lands tilted or off-centre, the thread and band are formed crooked and cannot be corrected later, which usually shows up as a cocked cap or a leak.
Is this the same for water and beverage caps?
The mechanical sequence is identical for the Aqua Cap and Bev Cap because both are 28/15 mm aluminium shells rated to 8 bar. The differences are in the liner and the tamper ring behaviour, not in the capping steps.
See the closures this process runs on: Aqua Cap and Bev Cap, browse the rest of the closure guides on Learn, or reach the team via contact.